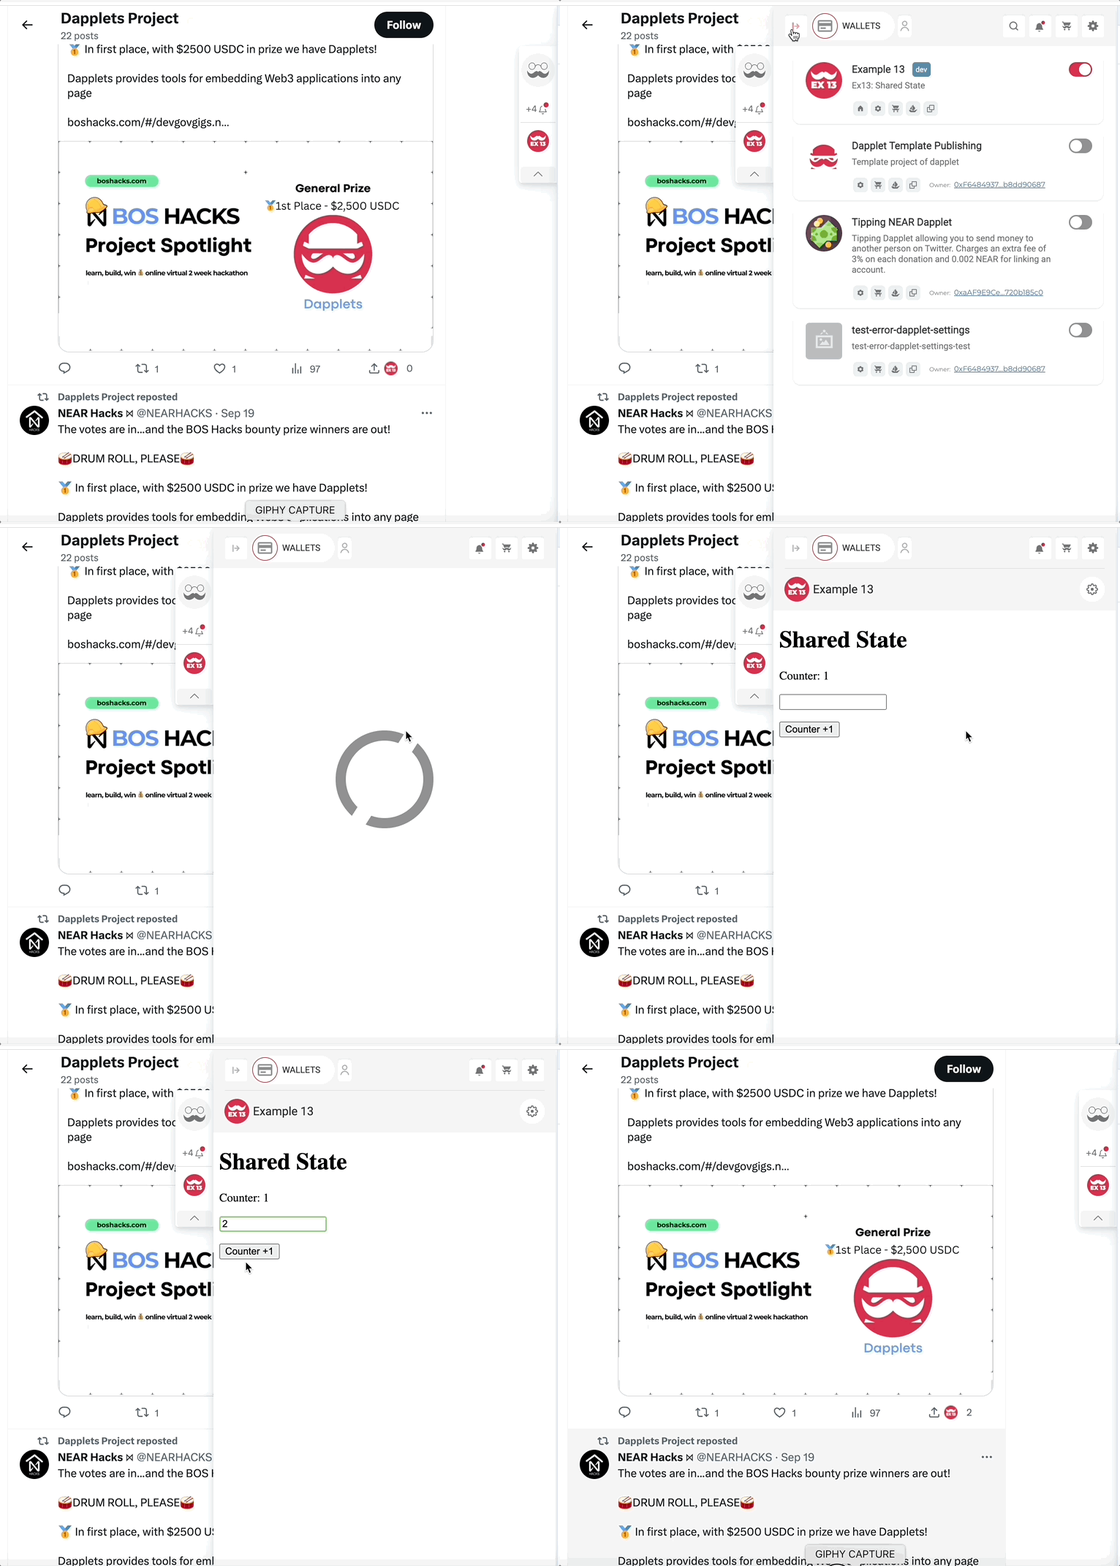
Shared State
In this exercise we create a dapplet with an overlay with shared state.
The overlay will be React App with Typescript (TSX).
In our dapplet we will add button with a counter to every post and add button and input to the overlay. The values of all the counters and inputs will be kept in a single shared state.
Here is the initial code for this example, which is similar to the base template: ex13-shared-state-exercise
Dapplet#
- Implement a type or an interface of the state with a counter and a text.
- Use the
Core.state<T>method to create a shared state. Make it at the beginning of theactivatemethod. It has to be typed with our interface and receive the default state as a single parameter.
- Then create an
IStateinterface type overlay.
To share the state with the overlay add the useState method that returns the overlay itself.
tip
In a dapplet you can create several states and overlays. So you can use one state with one or many overlays or use different states with different overlays. But note that one overlay can use only one shared state.
- Let's add the
Core.onActionmethod. It inserts a home button near the dapplets name in the extension's dapplets' list. It receives a callback.
We add a callback to the overlay opening event.
- Let's pass the state's counter to the widget. We want to create different states for every post. So post IDs should be the keys for saving context information and associated data.
You don't need to create the current context state in advance. It will be created from the default state when the key is not found in the storage.
tip
Shared state works like a key-value storage. Values are observable RxJS-based proxies.
The value of the counter is an observable object. To get the scalar value you have to use value property:
To set the new value you have to use the next method:
- Increase the counter by clicking the button and open the overlay.
Here we pass an optional parameter - id to the overlay.open method. Then we can get it in the overlay and use for getting and setting an appropriate part of the state.
- Input HTML element has its own state. When we are talking about the elements like input, textarea and select, we can build them with two-way data binding. It means that the element's state and Shared State are connected and updated automatically. So we can type some text and it will appear in the Shared State. And if you update the Shared State the value of the HTML element will also be updated.
The entire activate method:
Overlay#
In this example we don't talk about pure JavaScript overlay because the interaction with the shared state goes through the React's HOC (Higher-Order Component). To know more about this technique check out the official documentation page.
- Add Share State HOC into the
./overlay/src/index.tsx
Import dappletState from @dapplets/dapplet-overlay-bridge. This function is typed with IState interface, receives App and returns a new React component.
- In App we paste the copied IState interface from the dapplet and export it. Then we type the module's props with IDappStateProps typed with IState.
- In
rendermethod get props: sharedState, changeSharedState, id
- sharedState is an object that's matched to the dapplets state but its values are scalar. So you don't need to get
.valueof them and you cannot change them directly. - changeSharedState is a function that changes the state's parametes. It receives two arguments: an object with parameters that you want to change and an ID of the changing state. The second argument is optional.
- id is an ID, that passed through the
overlay.openfunction.
tip
There is one key-value state that's created by default. It is state.global. Use it for the state's parameters that are common for entire app or for all IDs in the current state.
When you want to change its parameters in the overlay, you don't need to pass the second argument to the changeSharedState function.
- When we have an ID we need to show the counter, an input with the text and a button that increments the counter. When there is no ID (click the home button) we need to show all the states: keys with the counters' and texts' values.
Here is the result code of the example: ex13-shared-state-solution
Run the dapplet:
