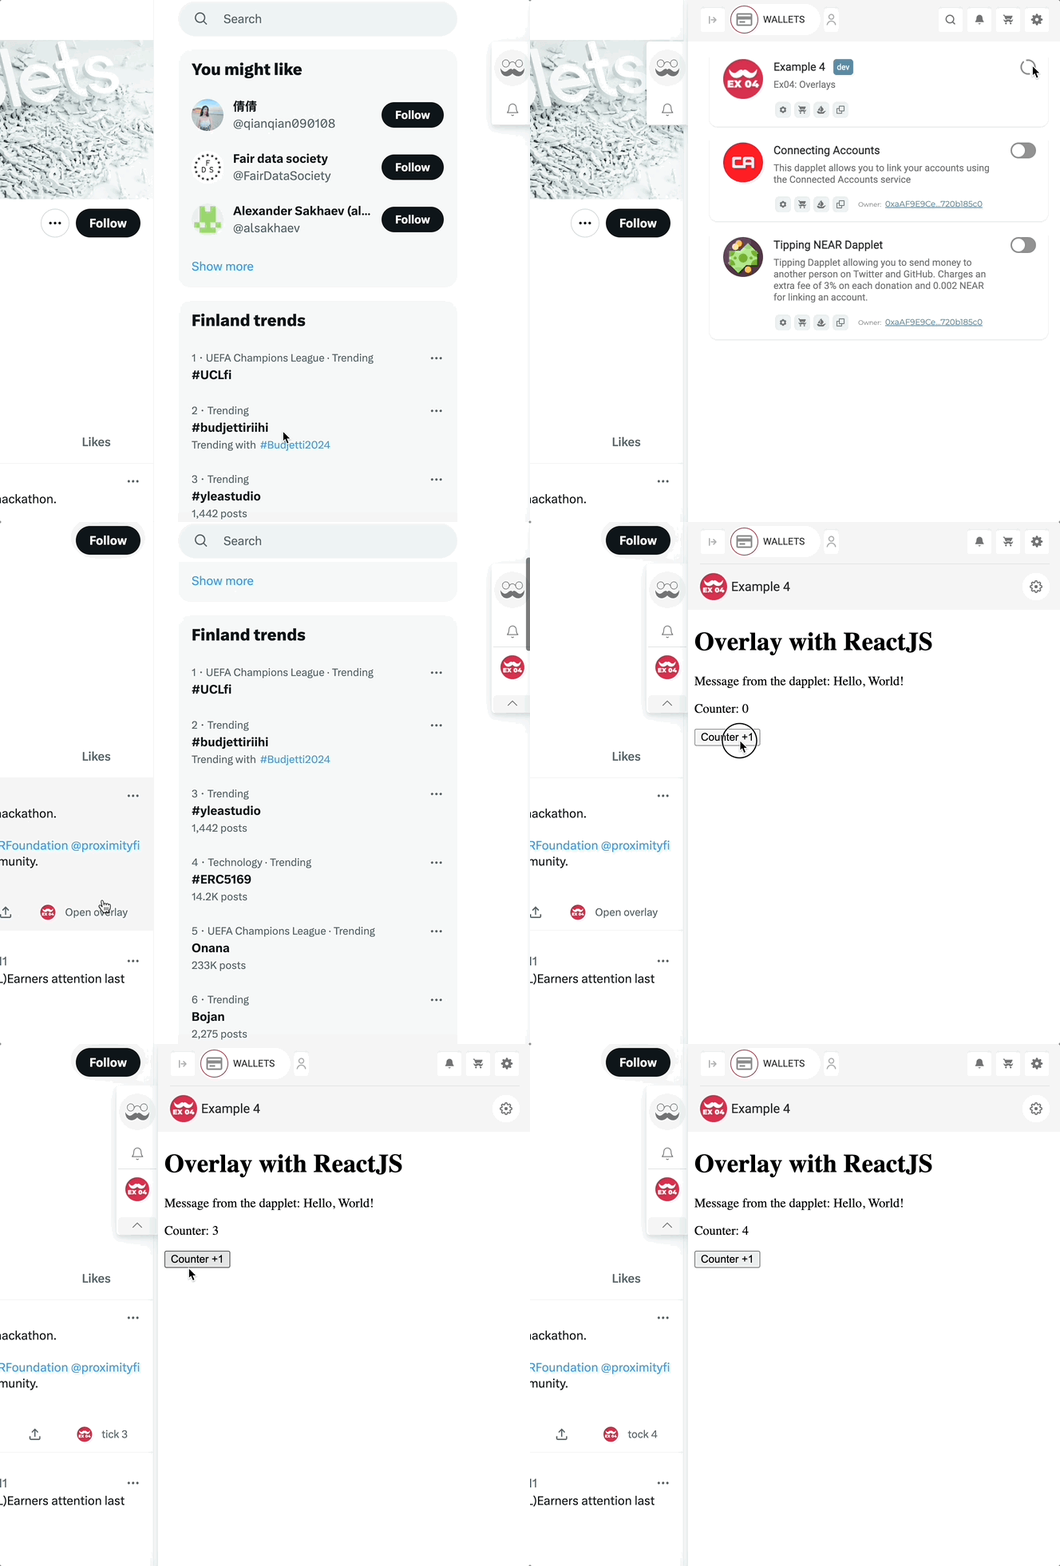
Overlays
In this example we will add an overlay to a POST. This overlay will be opened with a button click.
Here are two examples of an overlay:
First we implement an overlay written on HTML with pure JavaScript. Second - the React based component.
tip
We recommend using an overlay written on the React based component. When implement an overlay written on HTML with pure JavaScript, some functions such as Share State HOC are not available.
Here is the initial code for this example, including both of the above overlays: ex04-overlays-exercise.
Now let's create overlays.
HTML with JavaScript overlay#
- In
pure-html-page/index.htmlimport Bridge class fromhttps://unpkg.com/@dapplets/dapplet-overlay-bridge@0.1.1package.
- Create Bridge class instance and subscribe it to the
dataevent.
- Add an event handler to the button click.
tip
To publish a dapplet with an overlay, you need assets-manifest.json. When overlay is written in React, webpack or another module bundler builds it on its own. As you will see, if you create a React based overlay from the example, the manifest will have the following structure:
Here we create manually the same manifest but without main.js module.
React based overlay#
First install Dapplet-Overlay Bridge: in /overlayWithReact module.
- In
/overlayWithReact/src/App.tsximport Bridge class from @dapplets/dapplet-overlay-bridge package.
- Create
IDappletApiinterface and Bridge class instance typing with the inteface.
- Add a listener to the 'data' event.
- Add an event handler to the button click.
Change the dapplet#
- Implement the IDappletApi interface, the same as in the React-based overlay.
- Create an overlay object using Core API:
Core.overlay({ name: string, title: string }).
- Create an object that implements the interface. Write increaseCounterAndToggleLabel function. Declare the API in the overlay.
- Save current context and proxy to the global variables to use them in
increaseCounterAndToggleLabelfunction.
- By click open the overlay using
send()method. Send 'Hello, World!' message and ctx.counter to the overlay using 'data' event.
- Add to the
dapplet.jsonmanifest the following option:
Dependencies must be installed before running:
Run the dapplet
To run the dapplet with React overlay, change start script to the following:
Here is the result code of the example: ex04-overlays-solution.
