Create viewport adapter

In this example we create a new viewport adapter and a dapplet for it.

Here is the initial code for this example: ex09-new-viewport-adapter-exercise.

Our template has an adapter:

1adapter
2├── .gitignore
3├── dapplet.json
4├── index.json
5├── package.json
6├── package-lock.json
7└── styles
8 └── body
9 └── button.css

When you create an adapter don't forget to set contextIds in /adapter/dapplet.json. On these sites, the adapter will work:

1{
2 "contextIds": [
3 "twitter.com",
4 "instagram.com",
5 "www.instagram.com",
6 "youtube.com",
7 "www.youtube.com",
8 "dapplets.org",
9 "github.com",
10 "google.com",
11 "www.google.com",
12 "facebook.com",
13 "www.facebook.com",
14 "x.com",
15 "www.x.com"
16 ],
17}
  1. Implement a parser configuration for the adapter in /adapter/index.json to determine widget insertion points and parse some common data for the dapplet. Let's insert a widget into the top level of the html and get the page title information. Don’t forget to set the ID for the context:
1 "contexts": {
2 "GLOBAL": {
3 "containerSelector": "html",
4 "contextBuilder": {
5 "id": "string('global')",
6 "websiteName": "string(//title)"
7 }
8 },
9 "BODY": {
10 "containerSelector": "html",
11 "contextSelector": "",
12 "widgets": {
13 "button": {
14 "styles": "",
15 "insertionPoint": "",
16 "insert": ""
17 }
18 },
19 "contextBuilder": {
20 "id": "string('global')",
21 "websiteName": "string(//title)"
22 }
23 }
24}
  1. Specify the widget's insertion point and provide the path to its styles:
1"button": {
2 "styles": "styles/body/button.css",
3 "insertionPoint": "body",
4 "insert": "end"
5}
  1. Change dependencies and contextIds in /dapplet-feature/dapplet.json to new adapter:
1{
2 "contextIds": ["example-viewport-adapter.dapplet-base.eth"],
3 "dependencies": {
4 "example-viewport-adapter.dapplet-base.eth": "0.2.0"
5 }
6}
  1. Add a valid adapter in /dapplet-feature/src/index.ts:
@Inject('example-viewport-adapter.dapplet-base.eth')
public adapter: any;
  1. Add button from the page in BODY:
1button({
2 initial: 'DEFAULT',
3 id: 'button',
4 DEFAULT: {
5 label: 'GOOGLE_EXAMPLE',
6 img: EXAMPLE_IMG,
7 exec: () => {},
8 },
9})
  1. On button click show the website name:
exec: () => Core.alert(ctx.websiteName)

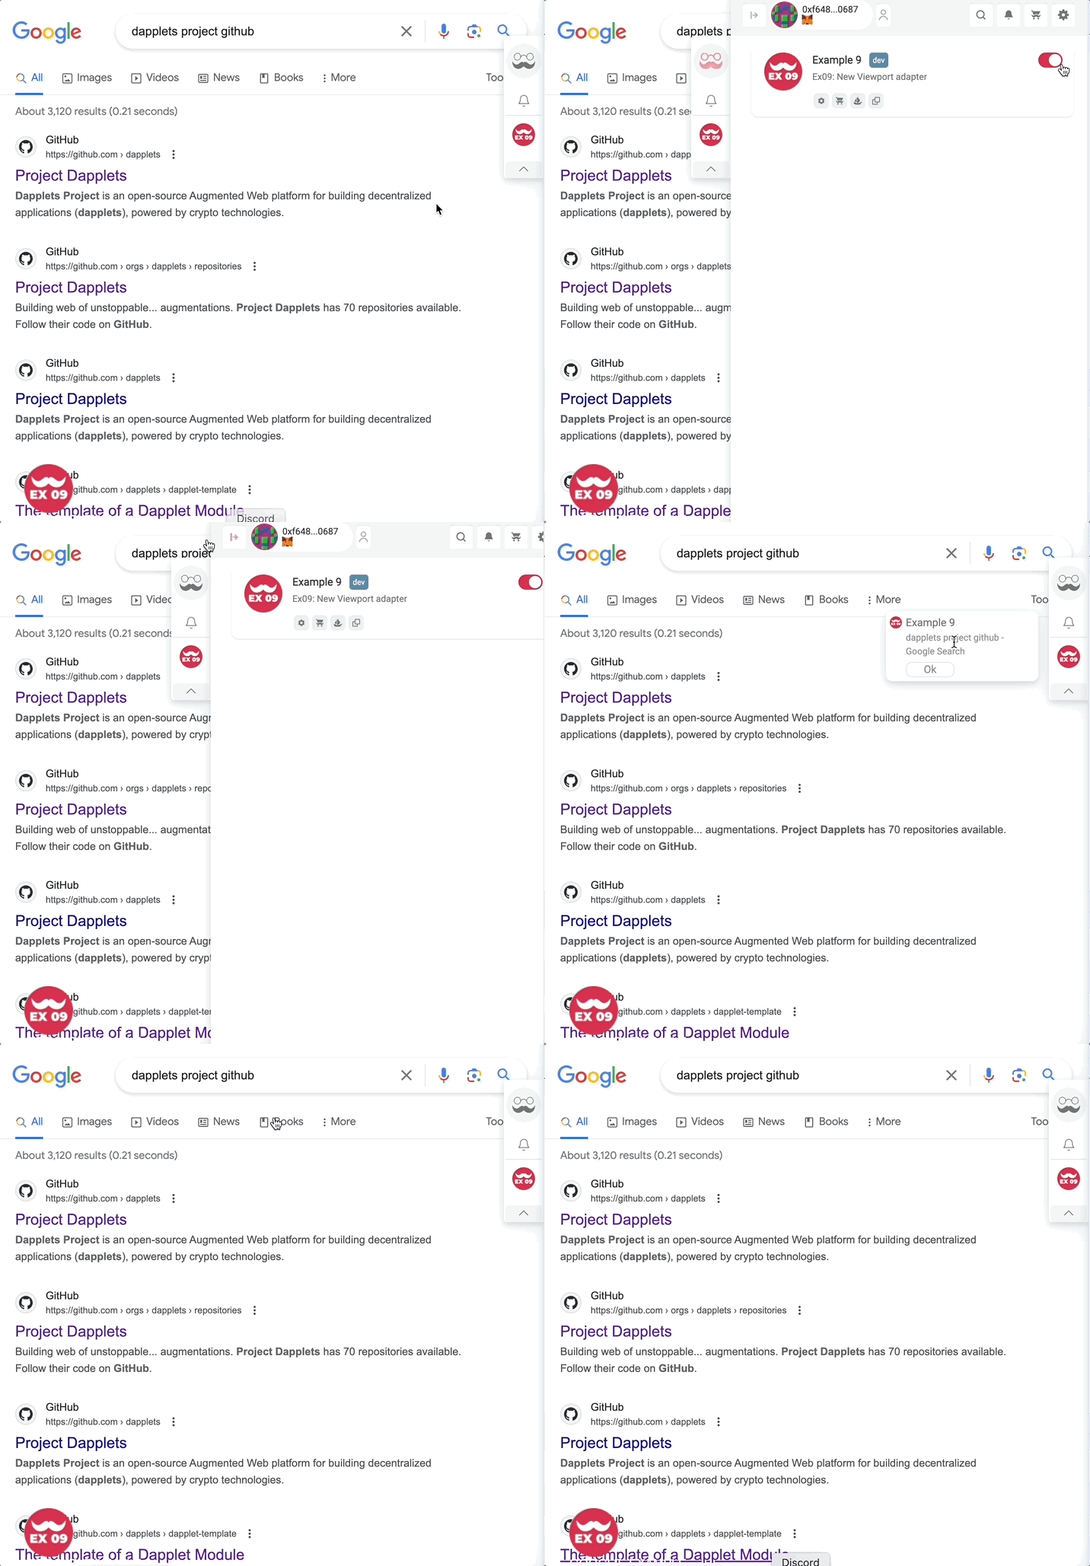
Here is the result: ex09-new-viewport-adapter-solution.

Run the dapplet:
npm i
npm start

video

In this example we run two servers concurrently. So you have to add two registry addresses to Dapplet extension in Development tab. Click here for instructions.